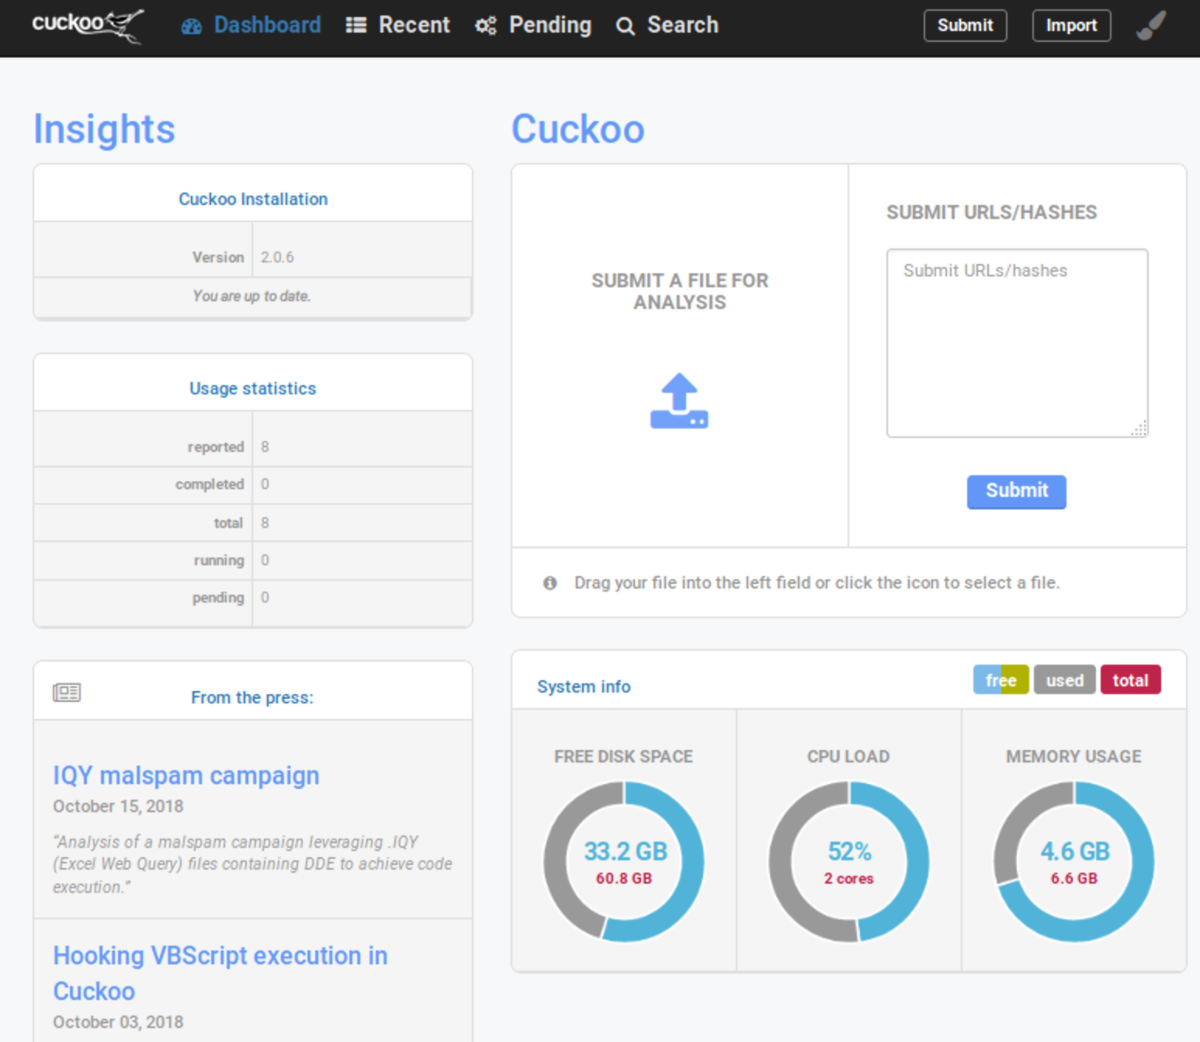
CuckooSandboxインストール
環境
Cuckooのインストール
$ sudo apt-get install -y cuckoo
仮想マシンのセットアップを行うときに agent.py が必要になるため、一度起動して .cuckoo ディレクトリを作成する
$ cuckoo

                                 _|
     _|_|_|  _|    _|    _|_|_|  _|  _|      _|_|      _|_|
   _|        _|    _|  _|        _|_|      _|    _|  _|    _|
   _|        _|    _|  _|        _|  _|    _|    _|  _|    _|
     _|_|_|    _|_|_|    _|_|_|  _|    _|    _|_|      _|_|

 Cuckoo Sandbox 2.0.6
 www.cuckoosandbox.org
 Copyright (c) 2010-2018

=======================================================================
    Welcome to Cuckoo Sandbox, this appears to be your first run!
    We will now set you up with our default configuration.
    You will be able to see and modify the Cuckoo configuration,
    Yara rules, Cuckoo Signatures, and much more to your likings
    by exploring the /root/.cuckoo directory.

    Among other configurable items of most interest is the
    new location for your Cuckoo configuration:
              /root/.cuckoo/conf
=======================================================================

Cuckoo has finished setting up the default configuration.
Please modify the default settings where required and
start Cuckoo again (by running `cuckoo` or `cuckoo -d`).
マルウェア解析用の仮想マシンをセットアップ
VirtualBoxのインストール
Cuckooのドキュメント Virtualization Software を参考に指定されたバージョンの VirtualBox をインストールする。Kali Linux 2019.1a 上でインストールするときは、Distributionを xenial から bionic にする必要がある
$ echo "deb http://download.virtualbox.org/virtualbox/debian bionic contrib" | sudo tee -a /etc/apt/sources.list.d/virtualbox.list

$ wget -q https://www.virtualbox.org/download/oracle_vbox_2016.asc -O- | sudo apt-key add -

$ sudo apt-get update
$ sudo apt-get install -y virtualbox-5.1
仮想NICの作成
セキュリティ上の観点から、既存のネットワークとは独立させるために仮想マシンにアタッチする仮想NIC(ホストオンリーアダプター)を作成
# not persistence
$ vboxmanage hostonlyif create
$ vboxmanage hostonlyif ipconfig vboxnet0 --ip 192.168.56.1 --netmask 255.255.255.0
仮想マシンにWindows7(64bit)をセットアップ
サンドボックス解析によるマルウェア対策ツール「cuckoo」を使ってみようを参考に、仮想マシン上にWindows(英語版、日本語版問わない)をセットアップ
- 仮想マシン
- ホストオンリーアダプターに
vboxnet0を指定 - スナップショット作成
- ホストオンリーアダプターに
- Windows7
- ファイアウォールの無効化
- UACの無効化
- ネットワーク設定
- IP:192.168.56.101
- GW:192.168.56.1
- Python2.7をインストール(https://www.python.org/)
- PythonPILをインストール(http://www.pythonware.com/products/pil/)
agent.pyをスタートアップに設定
仮想マシンから外部ネットワークへのルーティング設定
Cuckooのドキュメント Per-Analysis Network Routing を参考に仮想マシンから外部ネットワークへのルーティングを設定する
$ sudo iptables -t nat -A POSTROUTING -o eth0 -s 192.168.56.0/24 -j MASQUERADE

# Default drop.
$ sudo iptables -P FORWARD DROP

# Existing connections.
$ sudo iptables -A FORWARD -m state --state RELATED,ESTABLISHED -j ACCEPT

# Accept connections from vboxnet to the whole internet.
$ sudo iptables -A FORWARD -s 192.168.56.0/24 -j ACCEPT

# Internal traffic.
$ sudo iptables -A FORWARD -s 192.168.56.0/24 -d 192.168.56.0/24 -j ACCEPT

# Log stuff that reaches this point (could be noisy).
$ sudo iptables -A FORWARD -j LOG
インターネットへの接続を許可する場合
$ echo 1 | sudo tee -a /proc/sys/net/ipv4/ip_forward
Cuckooのセットアップ
Cuckooのインストールだけでは、Cuckoo + Webインターフェースを利用できないため、必要なパッケージのインストールとコンフィグの設定をする
MongoDBのインストール
Cuckooでは解析結果レポートの保存に MongoDB を利用しているため Install MongoDB Community Edition on Ubuntu に従ってインストールする
$ sudo apt-key adv --keyserver hkp://keyserver.ubuntu.com:80 --recv 9DA31620334BD75D9DCB49F368818C72E52529D4

$ echo "deb [ arch=amd64 ] https://repo.mongodb.org/apt/ubuntu bionic/mongodb-org/4.0 multiverse" | sudo tee /etc/apt/sources.list.d/mongodb-org-4.0.list

$ sudo apt update

$ sudo apt install -y mongodb-org
Djangoのバージョンを合わせる
apt-get で Cuckoo をインストールした場合、Djangoのバージョンが Cuckooで指定しているバージョン より新しく、webインターフェースが正常に起動しないため、アンインストール後に適切なバージョンをインストールする
※ Cuckooは最新バージョンのDjangoと互換性がない
$ pip freeze | grep jango
# Django==1.11.20
# django-extensions==2.1.4

$ rm -rf /usr/lib/python2.7/dist-packages/*jango*
$ pip install django==1.8.4
$ pip install django_extensions==1.6.7

$ pip freeze | grep jango
# Django==1.8.4
# django-extensions==1.6.7
Cuckooのコンフィグ設定
.cuckoo/conf/virtualbox.conf
- win7x64
- Snapshot1
- 保存したスナップショット名
[virtualbox]
# Specify which VirtualBox mode you want to run your machines on.
# Can be "gui" or "headless". Please refer to VirtualBox's official
# documentation to understand the differences.
mode = headless

# Path to the local installation of the VBoxManage utility.
path = /usr/bin/VBoxManage
# If you are running Cuckoo on Mac OS X you have to change the path as follows:
# path = /Applications/VirtualBox.app/Contents/MacOS/VBoxManage

# Default network interface.
interface = vboxnet0

# Specify a comma-separated list of available machines to be used. For each
# specified ID you have to define a dedicated section containing the details
# on the respective machine. (E.g. cuckoo1,cuckoo2,cuckoo3)
-machines = cuckoo1
+machines = win7x64
# If remote control is enabled in cuckoo.conf, specify a port range to use.
# Virtualbox will bind the VRDP interface to the first available port.
controlports = 5000-5050

-[cuckoo1]
+[win7x64]
# Specify the label name of the current machine as specified in your
# VirtualBox configuration.
-label = cuckoo1
+label = win7x64

# Specify the operating system platform used by current machine
# [windows/darwin/linux].
platform = windows

# Specify the IP address of the current virtual machine. Make sure that the
# IP address is valid and that the host machine is able to reach it. If not,
# the analysis will fail.
ip = 192.168.56.101

# (Optional) Specify the snapshot name to use. If you do not specify a snapshot
# name, the VirtualBox MachineManager will use the current snapshot.
# Example (Snapshot1 is the snapshot name):
-snapshot =
+snapshot = Snapshot1

# (Optional) Specify the name of the network interface that should be used
# when dumping network traffic from this machine with tcpdump. If specified,
# overrides the default interface specified in auxiliary.conf
# Example (vboxnet0 is the interface name):
-interface =
+interface = vboxnet0
.cuckoo/conf/reporting.conf
# The various modes describe which information should be submitted to MISP,
# separated by whitespace. Available modes: maldoc ipaddr hashes url.
mode = maldoc ipaddr hashes url

[mongodb]
-enabled = no
+enabled = yes
host = 127.0.0.1
port = 27017
db = cuckoo
store_memdump = yes
paginate = 100
# MongoDB authentication (optional).
username =
password =
Cuckoo起動
$ service mongod start

# start sandobox
$ cuckoo community
$ cuckoo

# start web interface
$ cuckoo web
